Week #5; Berries & peas!
- On: June 16, 2021
 0
0

Strawberries and peas have dominated this week. Both delicacies are very slow to harvest. It’s all-hands-on-deck to get them picked. From left, Danni, Matt, Billy, Ari and Zoe harvest your strawberries. Zoe ‘pre-trained’ on strawberries as a CSA member her entire childhood.
Ari, of course, is a true berry pro. He ate his first strawberry when a baby. I sat him at the edge of our berry patch, then glanced over to find him mashing berries into his mouth. He had never crawled before! That was his first time, with strong motivation!
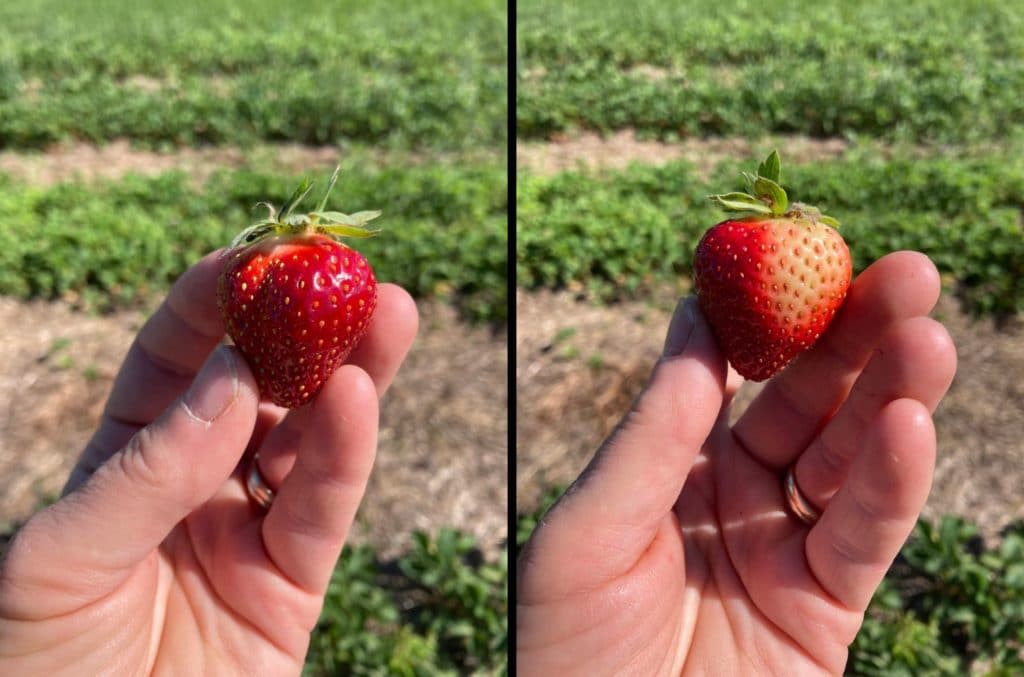
Don’t worry if your berries are white on one side. This is typical of the delectable ‘Cavendish’ variety. Taste one and you’ll see that the berries are fully ripe, even with a white spot. For this variety, you must judge ripeness by its darkest side.
Fixing losses to frost
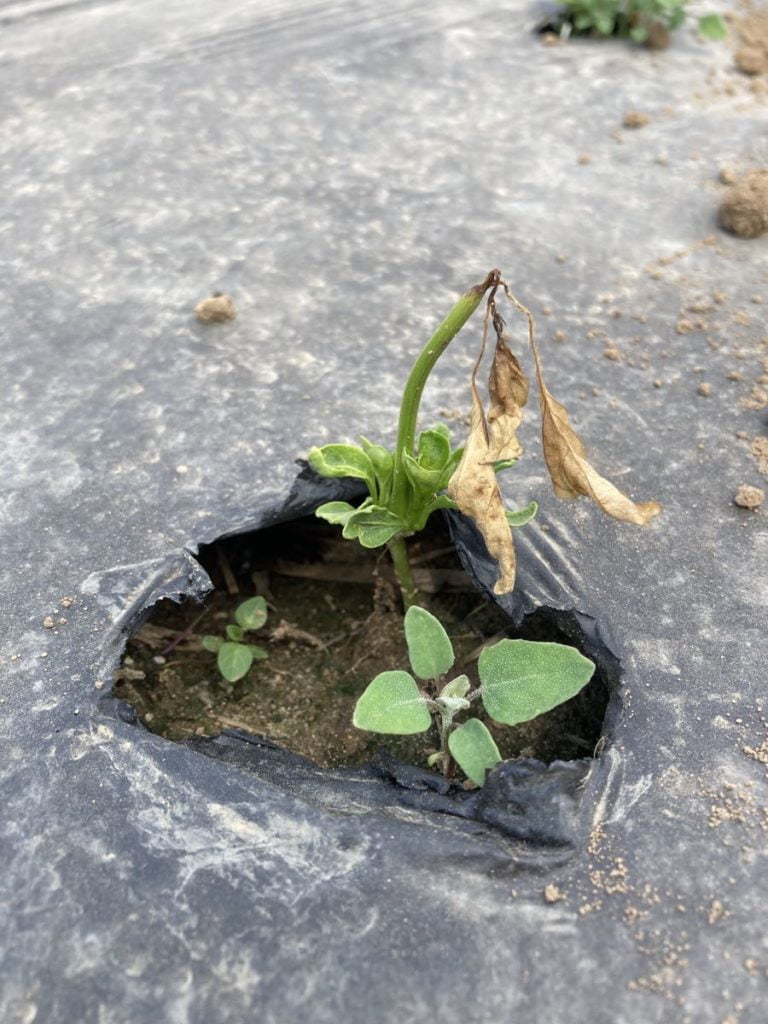
Pepper seedling damaged by frost (brown twig) but regrowing from the base, with two weeds.
Several pepper fields were damaged by frost three weeks ago. We set out to fix some of the damage this week. After the frost, we gathered all our leftover pepper seedlings from the greenhouses. In a stroke of luck, we had higher-than-usual pepper germination this year. We generally assume that we’ll get a useful plant from 80% of the pepper seeds we plant. Not this year – germination was close to 100%. We held onto the extras, waiting to see how our fields fared. If we didn’t need them, we would have offered the seedlings to other local growers.
Obviously, we needed them ourselves. We potted the small plants into bigger pots, to keep them growing and to buy ourselves some time.
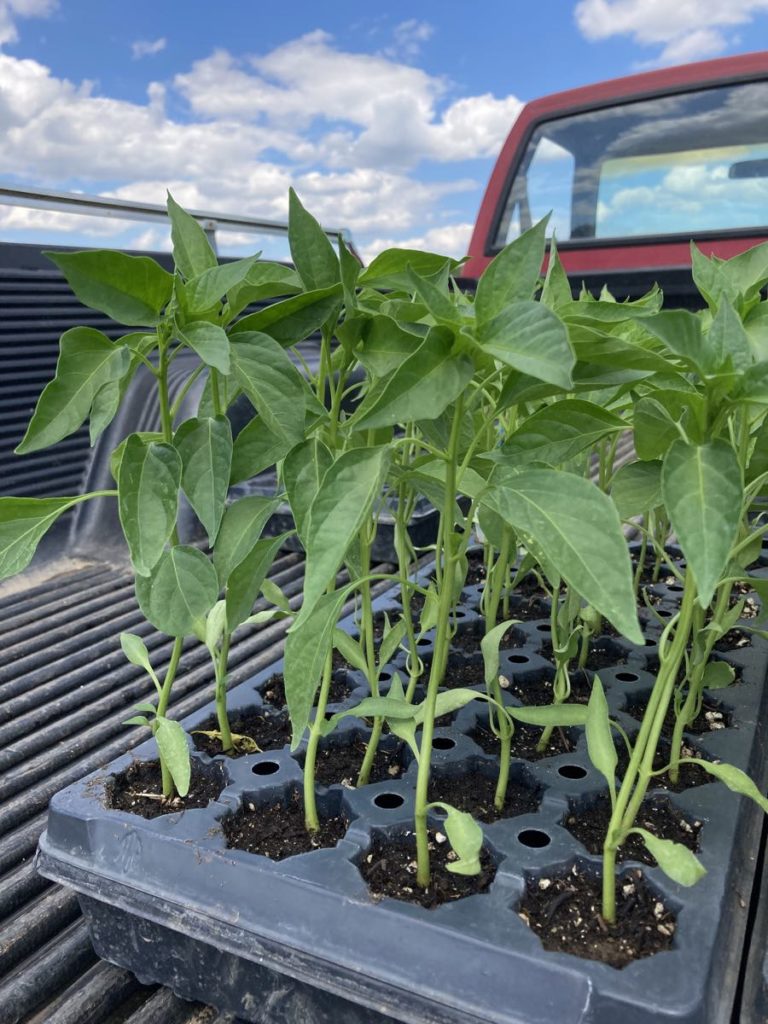
The repotted pepper seedlings grew quickly.
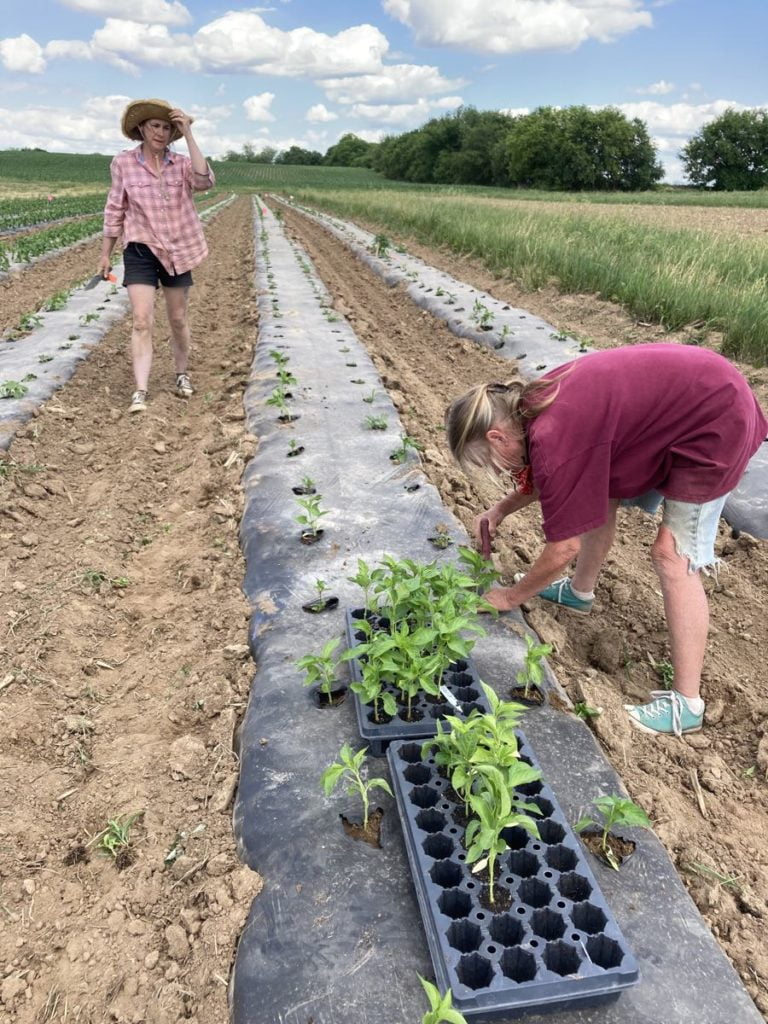
On Tuesday, Karen and Simone worked through the fields, replacing dead plants with identical varieties where they could, and making close matches elsewhere, eg replacing a purple pepper with a different purple variety. The fields will be harder to pick with the mixed ages and varieties but it’s manageable. Fortunately, many of the original plants survived the frost and will regrow into full plants.
Our chile field was damaged quite badly but we did not have extra plants. Instead, we immediately re-seeded in the greenhouse, even before it was certain how extensive the damage was. By the time those new seedlings are ready to transplant, we will know how many plants in the field have survived. We’re rooting for little plants like the one in the top photo! Meanwhile, the weeds keep growing.
To wrap up, bell peppers are going to be OK. The chiles will definitely be delayed. There’s not much else we could do. Overall, it’s a tolerable outcome, even if it means extra work for us for a while.
Thanks for reading.
Beth
Veggie List & Veggie Notes
Week #5, June 17/18, 2021
– Weekly shares
– EOW/ purple
– Sampler/ moon
Strawberries, 1 quart
Sugar snap peas, 1.1 lb
Napa cabbage
Zucchini &/or summer squash, 2 – 3 pieces
Red Romaine lettuce
Spinach, 1 bunch
Scallions, 1 bunch
Next week’s box will probably contain peas, greens, spinach, zucchini, scallions and more.
Strawberries – Storage: Refrigerate and eat soon! They are delicious!
– Most berries are quite clean. If you want to clean your berries, rinse gently. Don’t soak them, just rinse.
– Please recycle your strawberry containers. We no longer collect them for re-use. Please do not return them to your pick-up site.
Snap peas. These pea pods have strings to remove. Snap off the stem end and pull the string down the concave side of the pod (the inward-curing side). Throw away the string and eat the pod. The thicker pea pods will usually have a string along both edges. Remove them when you snap off the stem. Snap peas should be eaten pod and all. They are delicious raw, or very lightly cooked or stir-fried.
Heads up!: You may find some fibrous shell-type pods mixed in, from off-type plants. This happens most years with some varieties.
Preparation: They will need a quick rinse to remove faded gray blossoms.
Storage: Refrigerate.
Napa cabbage (large, pale green cabbage with crinkled leaves) – Napa cabbage is an interesting vegetable, useful for both fresh, raw salads and for cooking. Its most famous use is fermented kimchi. I like to prepare a fresh, unfermented kimchi. Same seasonings, but it’s ready to eat right away. You will be amazed at how much shredded napa cabbage shrinks when prepared this way. See here for an example, but cut the salt in half (or even further): Grilled Flank Steak with Kimchi-style Coleslaw.
Storage: Napa stores very well. When refrigerated, it will keep for several weeks. Peel off the outer layer and it will be ready to use. Here are a few preparation ideas from the ‘Asparagus to Zucchini’ cookbook.
– Chop raw napa into green salads.
– Substitute napa in traditional coleslaw.
– Chinese cabbage cooks quickly. Steam 3-5 minutes, or until leaves are wilted down but remain slightly crisp.
– Substitute napa cabbage for common cabbage in recipes, but reduce the cooking time by 2 minutes.
– Napa cabbage is the main ingredient in egg rolls. Try making an egg roll mixture to eat as a cooked side dish instead of preparing time-consuming egg rolls.
Zucchini & summer squash – This is the first harvest, the beginning of a long squash season. These first fruits are lumpy, the result of incomplete pollination. This happens every year. The bees have found the zucchini field and pollination has already improved.
Storage: Zucchini and summer squash need refrigeration but do not do well at very cold temperatures, as they soften and form pits in their surface. Refrigerate these squash but in the warmest part of your fridge. Don’t wash the squash until you’re ready to use it.
RECIPES
Visit our 2020 Recipe Log or our 2019 Recipe Log or join our Facebook discussion group.
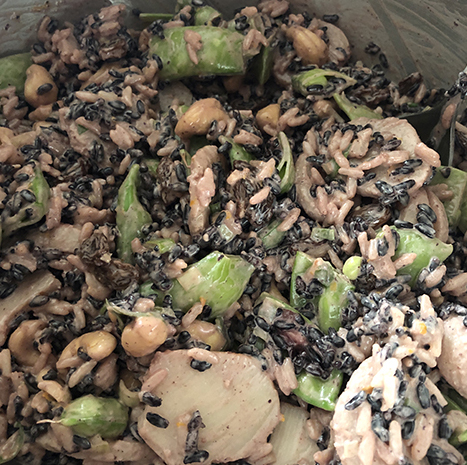
Ovens of Brittany Wild Rice Salad
Serves 4-6
Takes about 40 minutes
An adaptation of a classic recipe from the Ovens Of Brittany restaurant. The original recipe calls for snow peas, but lightly cooked sugar snaps are even more delicious!
Salad:
2/3 cup wild rice
1/2 cup white rice
3-4 scallions, thinly sliced diagonally
1/2 pound sugar snaps, stringed, blanched until they’re just bright green, and cut in half or thirds
1/2 cup raisins or currants
one 8-oz. can sliced water chestnuts, drained
3/4 cup salted roasted cashews (or sub in chopped almonds, peanuts, or your favorite nuts)
Dressing:
1/2 cup mayonnaise
2 tablespoons soy sauce or liquid aminos
1 tablespoon peeled and grated fresh ginger
one medium clove garlic, minced or put through a press
juice of one half lemon
juice of one half orange
a few dashes of Tabasco
For serving: lettuce leaves and orange wedges, if desired
You’ll cook the rices separately: the wild rice in about 1 1/3 cups water, with a pinch of salt, until tender, about 20 minutes. The white rice in about 3/4 cup water, with a pinch of salt, for about 15 minutes. Combine the rices in a large bowl and let cool. Add the other salad ingredients.
Whisk the dressing ingredients together until smooth, and pour over the salad. Mix well, and serve over lettuce leaves, garnished with orange wedges. This salad keeps well in the fridge for a few days, but tastes best at room temperature, so if it’s been chilled allow a little time for it to warm up before eating!
.
.
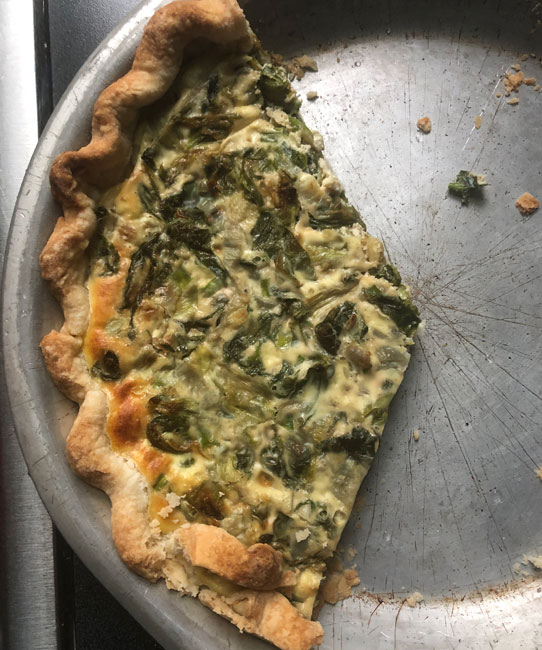
Spinach & Zucchini Quiche
Serves 4-6
Takes about 30 minutes, not counting chilling crust
Bake for 30-40 minutes
Pie crust:
1 1/2 cups flour (unbleached white or whole wheat)
good pinch salt, unless you’re using salted butter
2 teaspoons sugar
1/2 cup butter, either salted or un- (1 stick, 8 tablespoons)
1 tablespoon vegetable shortening or lard
1 tablespoon sugar
2-4 tablespoons cold water
Filling:
1/2 cup chopped onion
2 tablespoons butter
2 cups of rinsed, trimmed and cubed zucchini or summer squash
4-5 big handfuls of washed spinach
4-5 scallions, chopped, whites and greens
a few grates of fresh nutmeg, or about 1/4 teaspoon ground
4 oz. Gruyere or other sharp cheese grated
4 large eggs
1 cup half & half
Make the crust: measure the flour, salt and sugar into the bowl of your stand mixer (my favorite method), your food processor, or a mixing bowl. Slice the butter and shortening over the top and combine with the flour mixture, using the paddle attachment of the mixer, by pulsing the processor, or using a pastry blender, 2 knives or your fingers, until you have a crumbly mixture with no butter lumps bigger than currants. With the mixer or processor running, or while stirring with fork, drizzle in the water by tablespoons, until the mixture just starts to come together in clumps. Stop before you have one big ball. Turn the crust out onto a floured surface and knead lightly to bring it together. Gather it into a ball, flatten into a disk, wrap (in plastic, wax paper, one of your reusable snack/sandwich bags), and chill for about an hour, and up to 2 days.
When you’re ready to bake, roll out the crust and fit it into a deep 9-inch pie plate and crimp the edges. Set it in the freezer or fridge to chill while you make the filling. Heat the oven to 375°.
Make the filling: Saute the onions in the butter, and add the zucchini when they’re clear and softened. Cook for about 5 minutes, until the zucchini also softens up. Add the spinach, and cover the pan for a few minutes to wilt it. Uncover and raise the heat if necessary to boil off excess liquid. When everything looks cooked and dry, add the chopped scallions. Remove from the heat and season with the nutmeg and salt and pepper to taste, and let cool.
Sprinkle the cheese on the bottom of the crust. Add the cooled filling. Beat the eggs with the half & half and pour over. Bake for 30-40 minutes, until firm and browned.
.
.
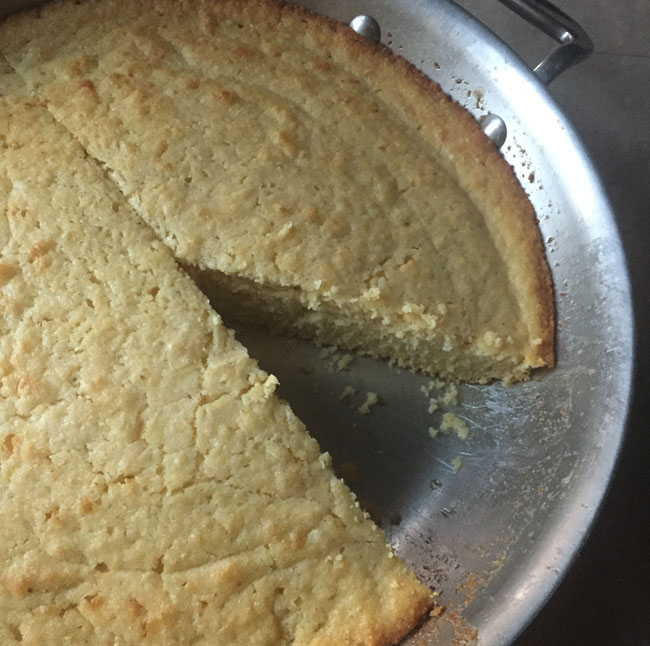
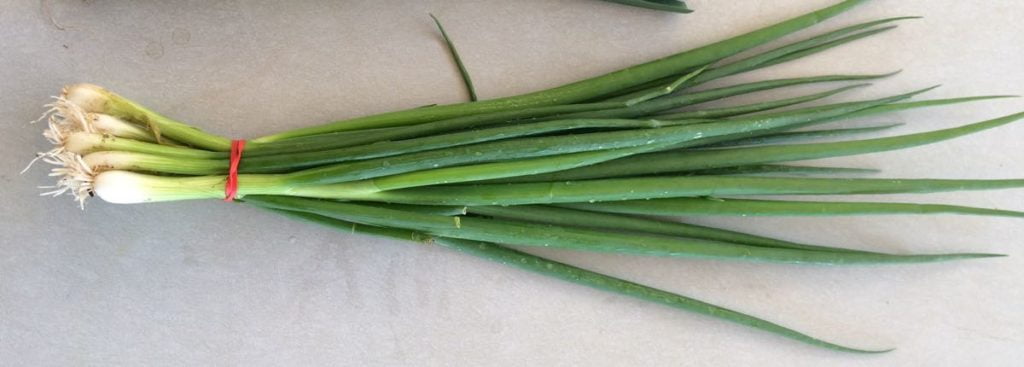
Brown Butter Cornbread with Scallions
Makes 8 large wedges
Takes about an hour
9 tablespoons (one stick + one tablespoon), salted butter
4-5 5 thinly sliced scallions
1/3 cup maple syrup
2 large eggs
1 2/3 cups buttermilk
1 cup cornmeal
2/3 cup unbleached flour (or use 1/3 cup unbleached and 1/3 cup whole wheat)
2 teaspoons baking powder
1 teaspoon baking soda
1 teaspoon salt
Heat the oven to 400°. Put the one tablespoon butter into a 9-10 inch round or square baking pan, and place it in the oven to heat and melt.
Brown the butter: Melt the remaining 8 tablespoons of butter in a sauce pan or heavy-bottomed skillet over medium heat. After its melted a white foam will appear. Stir or swirl the butter and watch carefully as the foam will dissipate and you’ll see brown flecks on the bottom of the pan, and butter will smell toasty and brown. As soon as that happens remove from the heat and toss in the scallions. Cool the butter mixture.
Make the batter: Beat the eggs and maple syrup in a large bowl, and pour in the buttermilk. Measure in the cornmeal, flour, leavening and salt, and mix with a spatula, then add the scallion-butter mixture. Remove your preheated baking pan from the oven, and pour in the batter. Reduce the heat to 375°, and bake for 30-35 minutes until a toothpick inserted in the middle comes out clean.
.
.
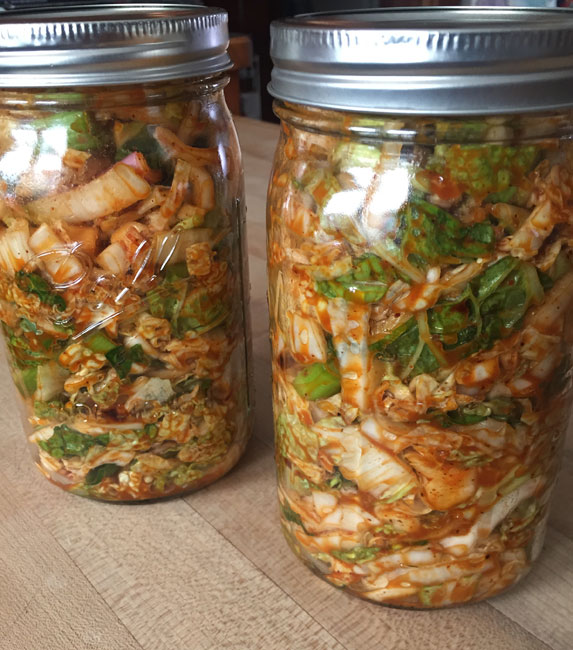
Kimchi
Many servings
Takes less than 30 minutes of chopping; overnight to salt the cabbage; and 2 days to 4 days to ferment the kimchi
2 pounds of Napa cabbage
1-2 tablespoons kosher salt
1/3 cup rice vinegar (unseasoned)
3 tablespoons Korean chili pepper paste (gochujang)
1 tablespoon minced garlic
1 tablespoon ground Ancho chile
1 tablespoon peeled and grated fresh ginger
5 scallions, sliced in 2-inch sticks including the greens
Cut the cabbage into quarters and core it, and remove the outer leaves. Cut the cabbage into about 2 inch slices, place it in a large bowl, and toss with the salt. Transfer the cabbage to a colander (plastic or stainless steel that wont react wih the salt, is best here), and place the colander over a bowl (or leave it in the sink overnight). Weight the cabbage, by putting a plate that fits inside the colander on top, and putting a heavy can, like 28-oz. tomatoes, on top, and leave for 8 hours.
Mix the vinegar, chili paste, garlic, Ancho chile, and ginger in a large, nonreactive bowl. Add the cabbage by handfuls, squeezing out any excess moisture – some people wear gloves for this – and mix well your hands or a spatula. Add the scallions, mix, and pack into 2 quart jars. Leave on the counter to ferment for 2-4 days before storing in the back of your fridge where it will last for months (and get funkier!)
.
.
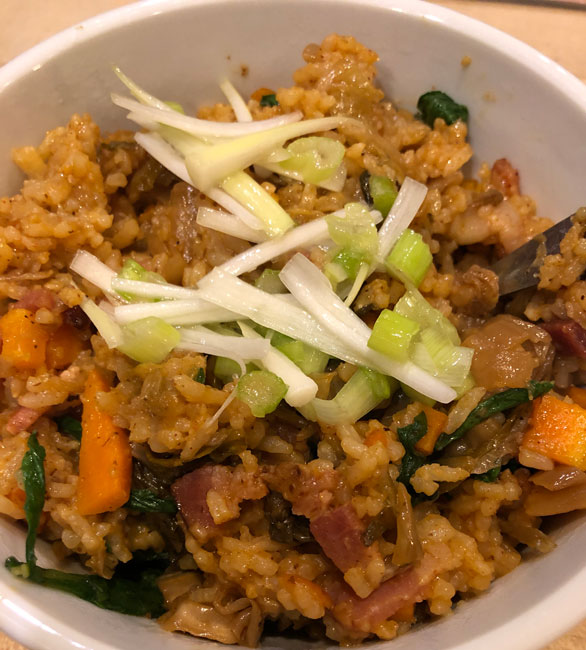
What to do with your kimchi once it is made?
Kimchi fried rice, or kimchi grilled cheese, or kimchi quesadillas!
.
.
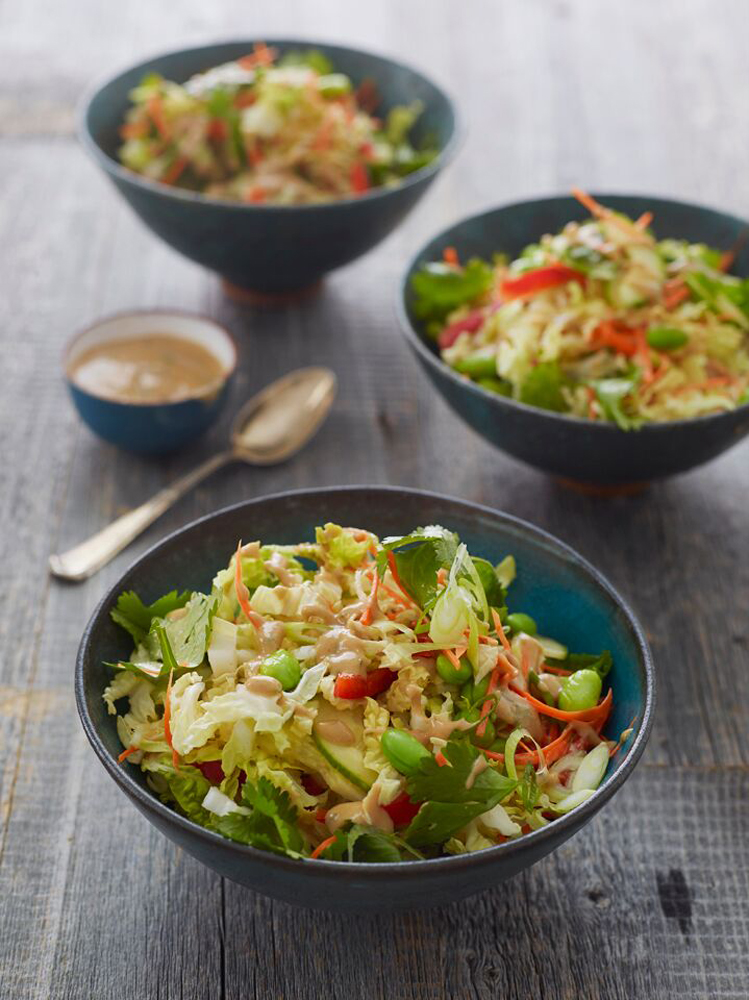
Photo by Alexandra Grablewski
Thai Crunch Salad with Peanut Dressing
From Once Upon A Chef
https://www.onceuponachef.com/recipes/thai-crunch-salad-with-peanut-dressing.html
This salad is a great way to use the Napa cabbage from our box. You can sub sugar snaps for the edamame!


